Every purchase made online is encrypted with a high level of security you’ve come to expect. Your private information is never shared nor sold, so you can buy with confidence. You can also visit our store if you are in the St. Louis area.
It’s tempting to banish bedding with minor rips, tears or stains to the farthest corners of your linen closet, never to see the light of day unless you’ve done laundry. Minor damages can make your pillowcases, sheets, blankets and other bed linens go from your favorite to least favorite bedclothes in a matter of moments. But you don’t have to eschew the comforts of your favorite bedding just because they’re a little worn.
Table of Contents
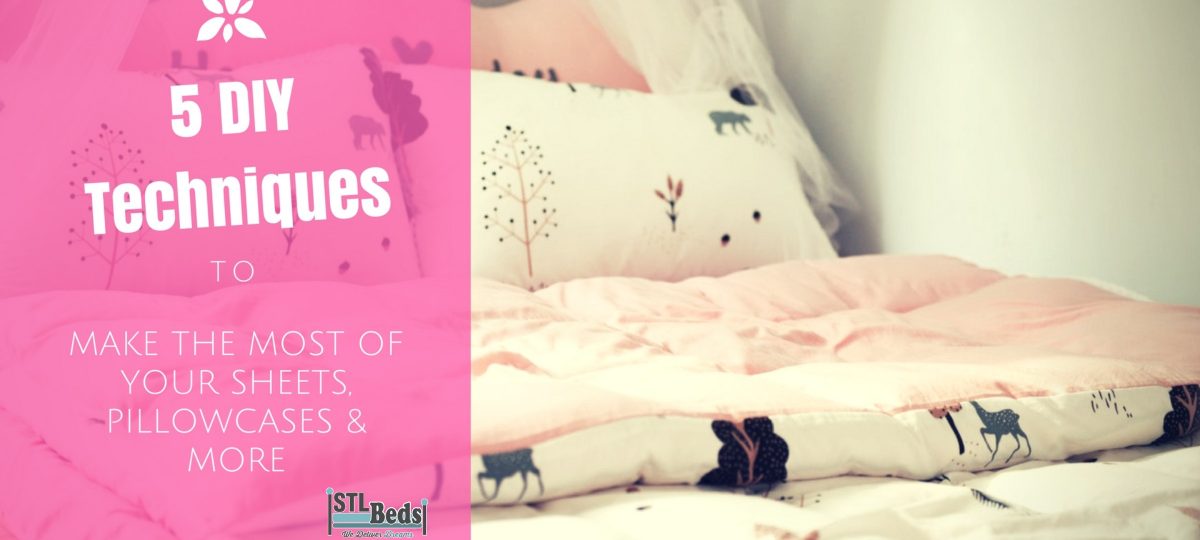
Make Use of These 5 DIY Techniques to Give Your Favorite Sheets, Pillowcases, and Well-worn Bedding a Makeover.
1. Tie Dye and More
Dye is the perfect fix-it for sheets and pillowcases that have seen better days. Unleash your inner hippie by exploring the realm of tie dye to hide unsightly stains that just won’t come out in the laundry. The colorful and patterned nature of tie-dye makes it the ideal technique to minimize the appearance of stains and give your bedding a completely new look.
How to Tie Dye Sheets and Pillowcases
Most of the readily available dyes and tie-dye kits found in supermarkets and craft stores work best on 100 percent cotton bedding. If you have bamboo, silk, satin or poly-blend sheets, you’ll need to consult with the manufacturer’s instructions about the suitability of the dye for your project and possibly choose a different type of dye or dye kit.
Gather your bedding to be dyed and make sure it’s freshly washed. Forego fabric softener to leave the fibers open and receptive to the dye. You’ll also need rubber bands and, optionally, marbles or other non-porous objects to wrap your sheets around to create interesting dye patterns.
Prepare the dye bath as recommended by the instructions. Most readily available dye kits require the use of salt as a setting agent to make sure the dye sticks to the fibers of your bedclothes.
Twist and tie your bedding. Different twisting and tying techniques result in different patterns on the finished project. Experiment to find what you like. Remember: if you don’t like the way your finished tie dye bedding looks, you can always go back and re-dye it.
Let the dyed bedding dry as per the dye manufacturer’s instructions. Some dyes are able to be machine dried to speed up the process, while others should remain in the sun until dry. Follow all finishing instructions, especially those that recommend washing the finished tie-dyed item — with or without the use of vinegar as an additional dye setting agent — before using them.
Other Dye Techniques
If you aren’t keen on the look of tie dye, you can still give your bedding a dye-based do-over. Darker colored cotton sheets can be reverse-dyed with a mild bleach bath while lighter linens can benefit from an ombre dip-dye or single-color dye job to mask stains or dinginess. Explore other techniques such as batik, shibori or even fabric painting to create personalized new-to-you bedding that suits your style.
2. No-Sew Lace Edging
Bedding that comes apart at the hem — the sewn edge that keeps sheets, pillowcases and dust ruffles looking neat and tidy — it’s a simple fix with a sewing machine. But if you’re not a seamstress, the task can seem hopeless. Even if you attempt a repair using a needle and thread, the edge might not be as tidy as you’d hoped. You can camouflage frayed or torn edges with lace.
How to Add Lace Edging Without Sewing
Measure the edge of your pillowcase or sheet and head to the fabric store to find a piece of lace that catches your eye. Buy enough to match your bedding’s measurements, with a little extra to account for accidents or matching up lace patterns.
Cut the lace to size and cut a matching piece of fusible webbing — available at most fabric and craft stores. Pin the fusible webbing to the pillowcase or sheet and layer the lace on top.
Iron the lace and webbing to the hem of your bed linen, using the temperature and technique specified by the webbing manufacturer’s instructions. The heat from the iron melts the webbing, bonding the lace to the sheet or pillowcase.
3. Embroidery to Mend Rips and Tears
If you’ve ever wanted to explore the vivid world of colorful needlework, bed linens are the perfect place to do so. Sheets give you a large canvas to practice your embroidery, while pillowcases and comforters offer ample opportunity for small, decorative additions.
While embroidery takes time and practice, it’s an affordable way to reinforce and mend areas that have been ripped or torn. Small holes produced by pet claws or toenail snags, for example, can become beautiful eyelets with the addition of a simple satin stitch around the edge of the holes. Larger rips and tears can be sewn up and reinforced with colorful cross stitch or herringbone stitches.
Mending with embroidery doesn’t mean you’re limited to traditional embroidery thread, either. Experiment with yarn, ribbon or even strips of fabric for different results to suit your bedroom decor.
4. Create a Patchwork Masterpiece
Explore the world of patchwork to cover major stains or mend seemingly unfixable rips in bedding you aren’t quite ready to part with. Cut various pieces of fabric and piece them together to form patterns that make your sheets or pillowcases one-of-a-kind masterpieces.
If you’re handy with a needle and thread, mending your bedding gives you the perfect excuse to experiment with traditional quilting techniques. If not, no fear — fusible webbing makes patchwork updates a no-sew prospect.
Adding Patchwork to Your Bed Linens
Gather an array of fabric to choose from. 100 percent woven cotton or poly-cotton blends are easiest to work with — both for your patches and sheets — while other fibers may require different stitching techniques to keep them from draping funnily. Try to choose fabrics that match the texture of the bedding you’re mending for a virtually seamless transition.
Cut the pieces of fabric to cover the stain or rip, with an additional ¼ inch on all sides to allow for folding a hem and stitching or ironing. How you piece your patches is up to you. A crazy-quilt style design would look right at home in a country chic or boho bedroom, while more tailored lines of blocks or triangles would fit with a farmhouse or modern decor style.
5. Stamp It
Stains and discoloration are easily hidden with the aid of rubber stamps and fabric paint. Simply roll the fabric paint onto the stamp and start stamping away over the stained or discolored area. Small, repeatable patterns can cover large areas with little clue as to what lies beneath, while larger stamps give you areas to color in with fabric markers, paint or even dyes. Just be sure to let your work dry and finish according to the paint manufacturer’s instructions before putting it back into your regular bedding rotation.
Breathing New Life Into Old Bedding
A rip, stain or tear doesn’t mean you have to give up your favorite pillowcase, sheet, blanket or dust ruffle. If you’re itching to explore your creative side, mending and repairing bed linens gives you the perfect opportunity to explore a new technique while saving your favorite bedclothes.
When done properly, creative mending and repair can extend the life of your bedding, but it also gives you some extra time to schedule a shopping trip to treat yourself to a new pillowcase, sheet set or comforter and perhaps find a new favorite to add to your linen closet.
Our return policy covers most of our products. If you experience a problem with the shipping or quality of an item you’ve purchased from us, just give us a call and we’d be glad to resolve the issue.
We get your purchase to you as soon as possible. We offer several shipping options to meet everyone’s expectations. If we have your product in stock, it may even ship the same day you order it!